Shareable bathroom package for the Ventura renovation: selected vanities, selected alcove bathtub, vanity lighting plan, doorless shower with frosted glass block wall, and the working tile/material palette. This page keeps the main decisions together so one link can be shared for bathroom coordination.
At-a-glance decisions
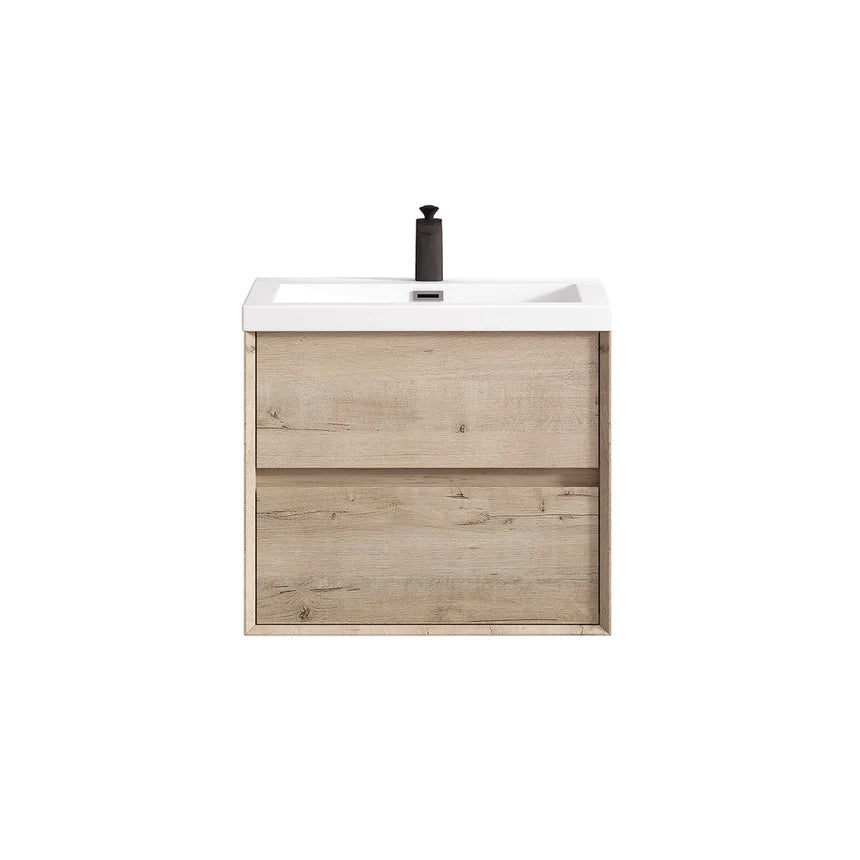
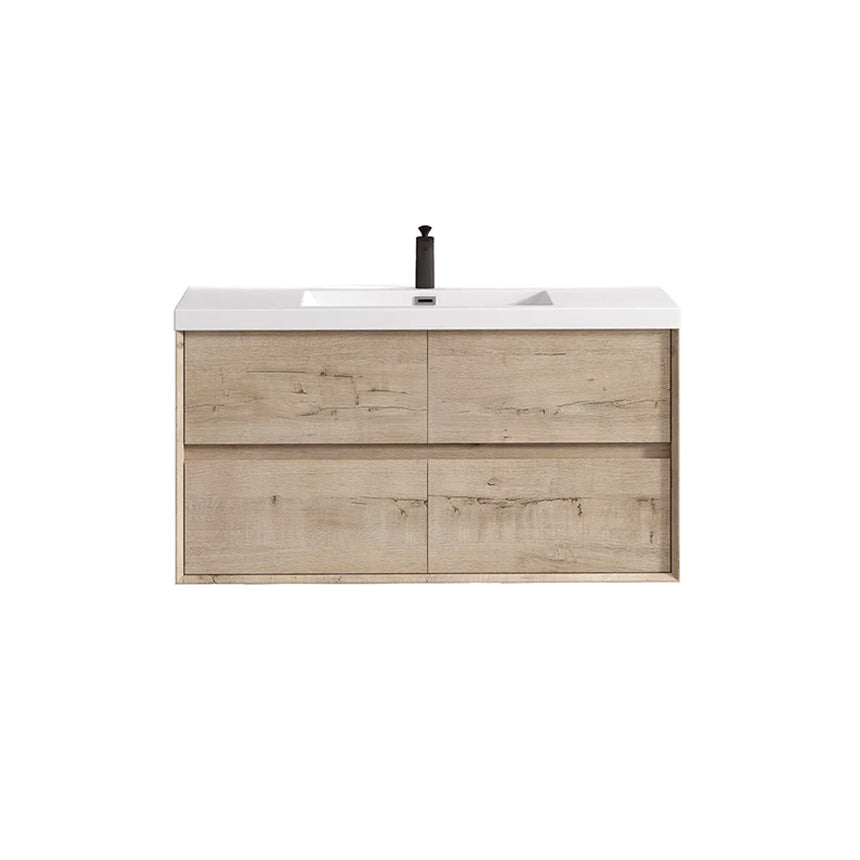
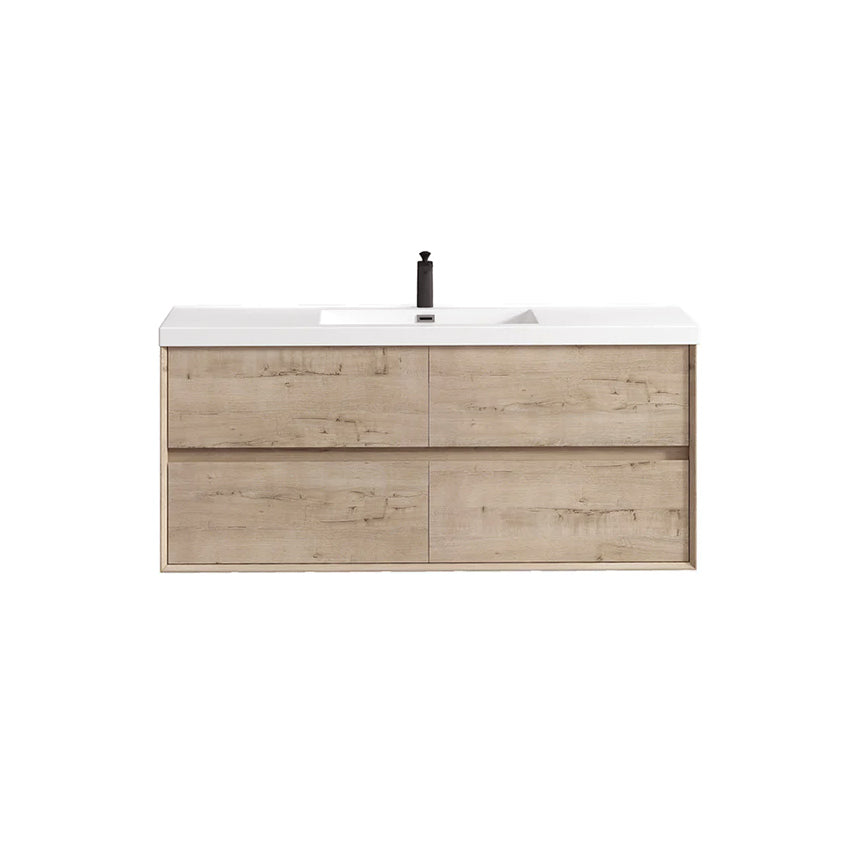
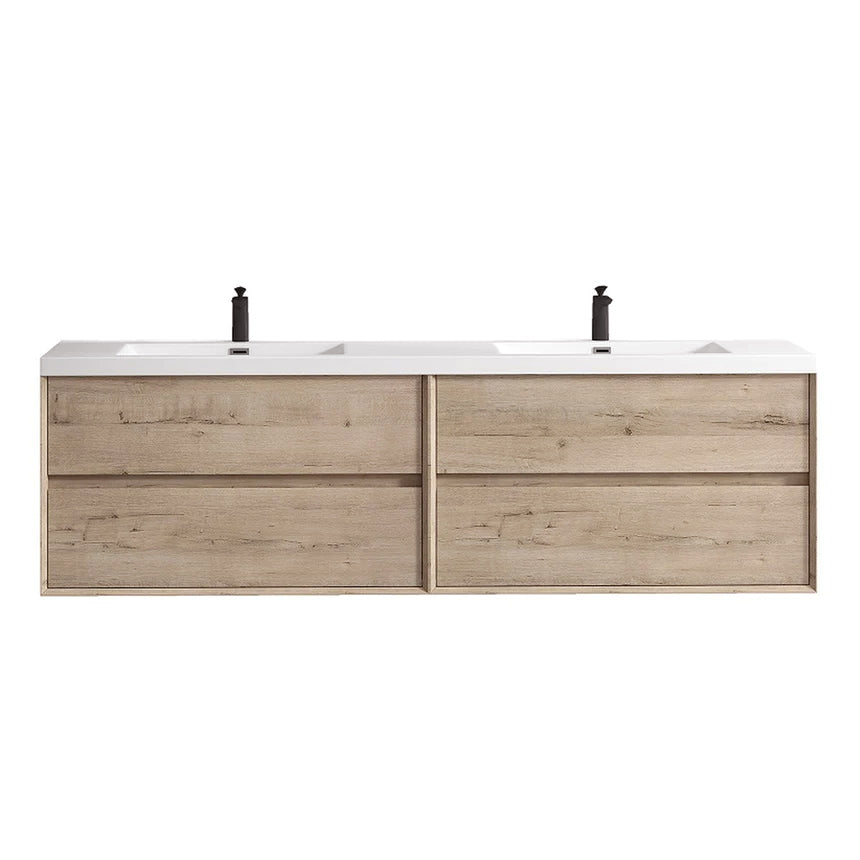
VanitiesSottile Floating Vanity Same overall floating vanity style across all four bathrooms: 24″, 48″, 60″, and 84″ double sink. The two smallest vanities have been purchased: the 24″ is currently in the Dublin garage and the 48″ is currently in the Ventura garage.
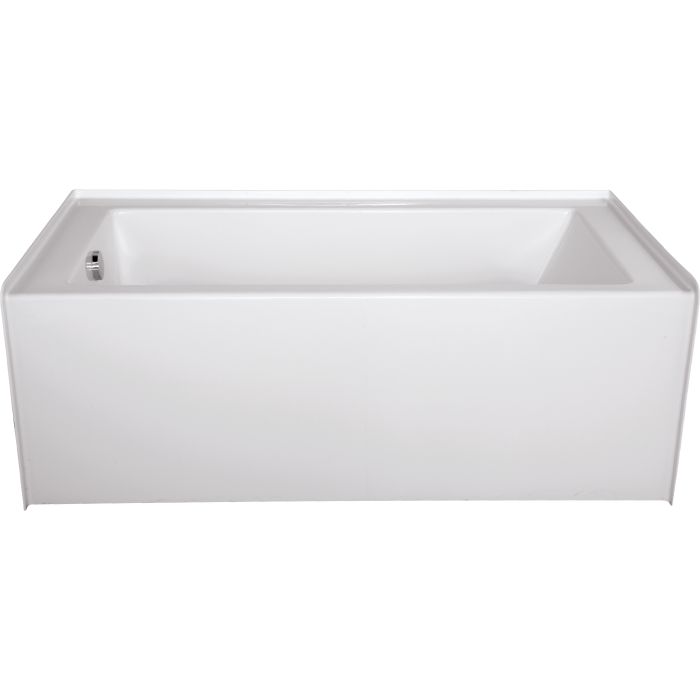
Alcove bathtubHydro Systems Sydney Selected 66″ × 36″ white acrylic alcove soaking tub: SYD6636ATO-WHI-LH, left-hand drain.
ShowersThree shower enclosure plans Master: glass fixed wall plus hinged door, both about 80″ tall. Downstairs hall bath: curtain for now. Guest shower: doorless frosted glass block wall.
Tile paletteWarm glossy tile + light stone Yellow / brownish-yellow glossy wall tile remains the warm lead; green-gray glossy tile is the cooler alternate.
Vanities
Selected vanity direction
Use the Sottile Floating Vanity from O&N Floating Vanity as the common vanity style across the bathrooms. The 24″ half-bath vanity has been purchased and is currently in Gordon's garage in Dublin; the 48″ downstairs hall bath vanity has been purchased and is currently in the garage in Ventura. Coordinate finish, mirrors, drains, rough-in, and lighting before final installation; the vanities come with tops, so no separate stone/top coordination is needed.
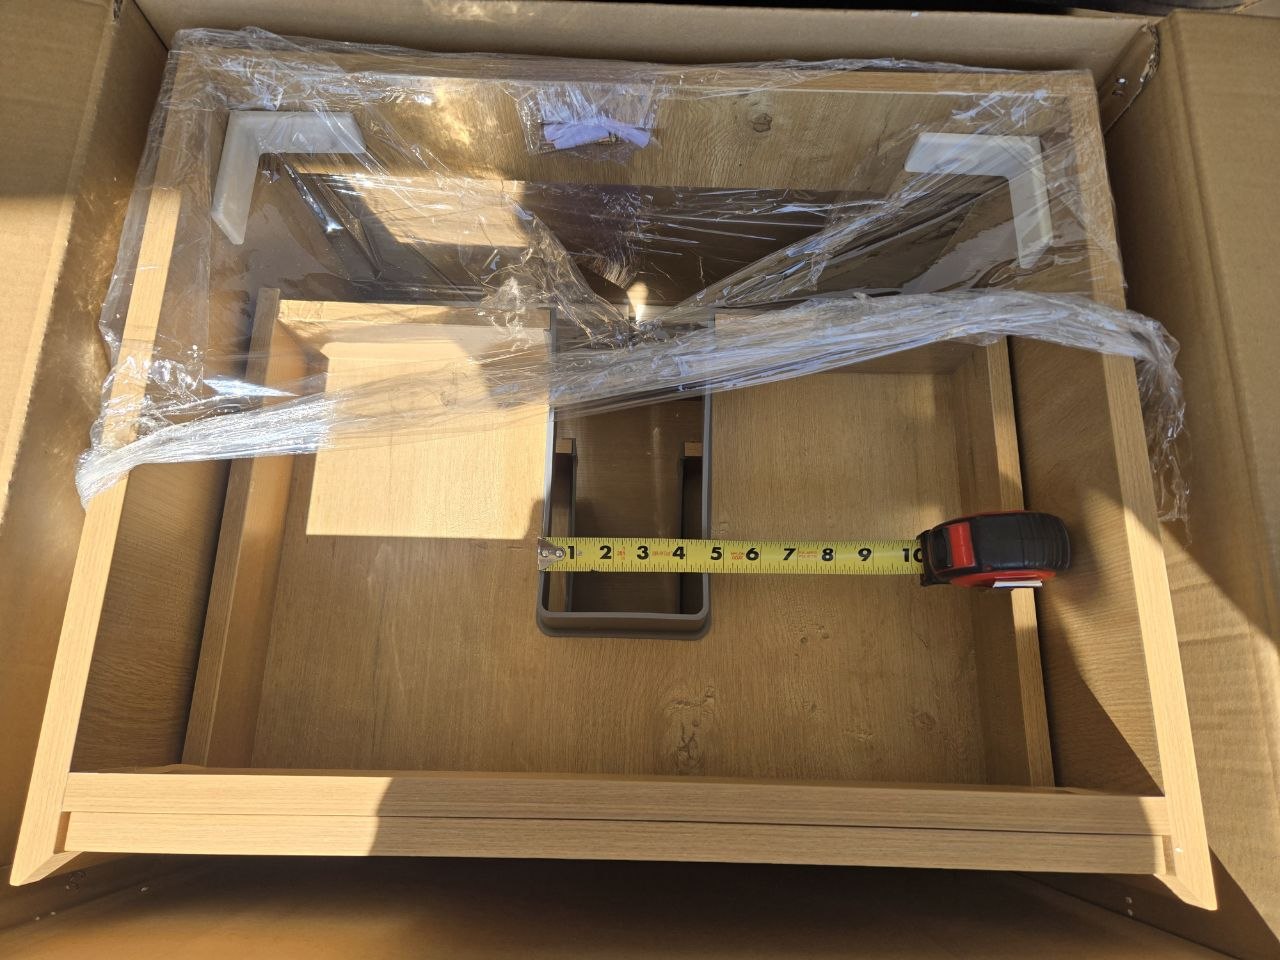
Half bath24″ Sottile Purchased; currently in Gordon's garage in Dublin. Actual listed width: 23.50″. Verify drawer plumbing slot against field rough-in.24″ spec PDF
Garage / field reference. The actual drawer/drain-slot opening on the 24″ vanity appears narrower than the spec drawing suggests, so drain and P-trap locations should be checked against the real cabinet before rough-in or installation.
The selected alcove bathtub is the Hydro Systems Sydney SYD6636ATO-WHI-LH: a 66″ × 36″ white acrylic alcove soaking tub with left-hand drain, skirt, and tile flange for a 3-wall alcove installation.
Configuration: 66″ L × 36″ W × 20″ H, white, left-hand drain.
Install package: acrylic tub only with skirt and tile flange / 3-wall alcove setup.
Published reference specs: slip-resistant bottom, overflow, approximately 70 gallons to overflow.
Ordering note: confirm exact suffix -WHI-LH, drain orientation, flange/skirt package, lead time, and compatible waste/overflow before release.
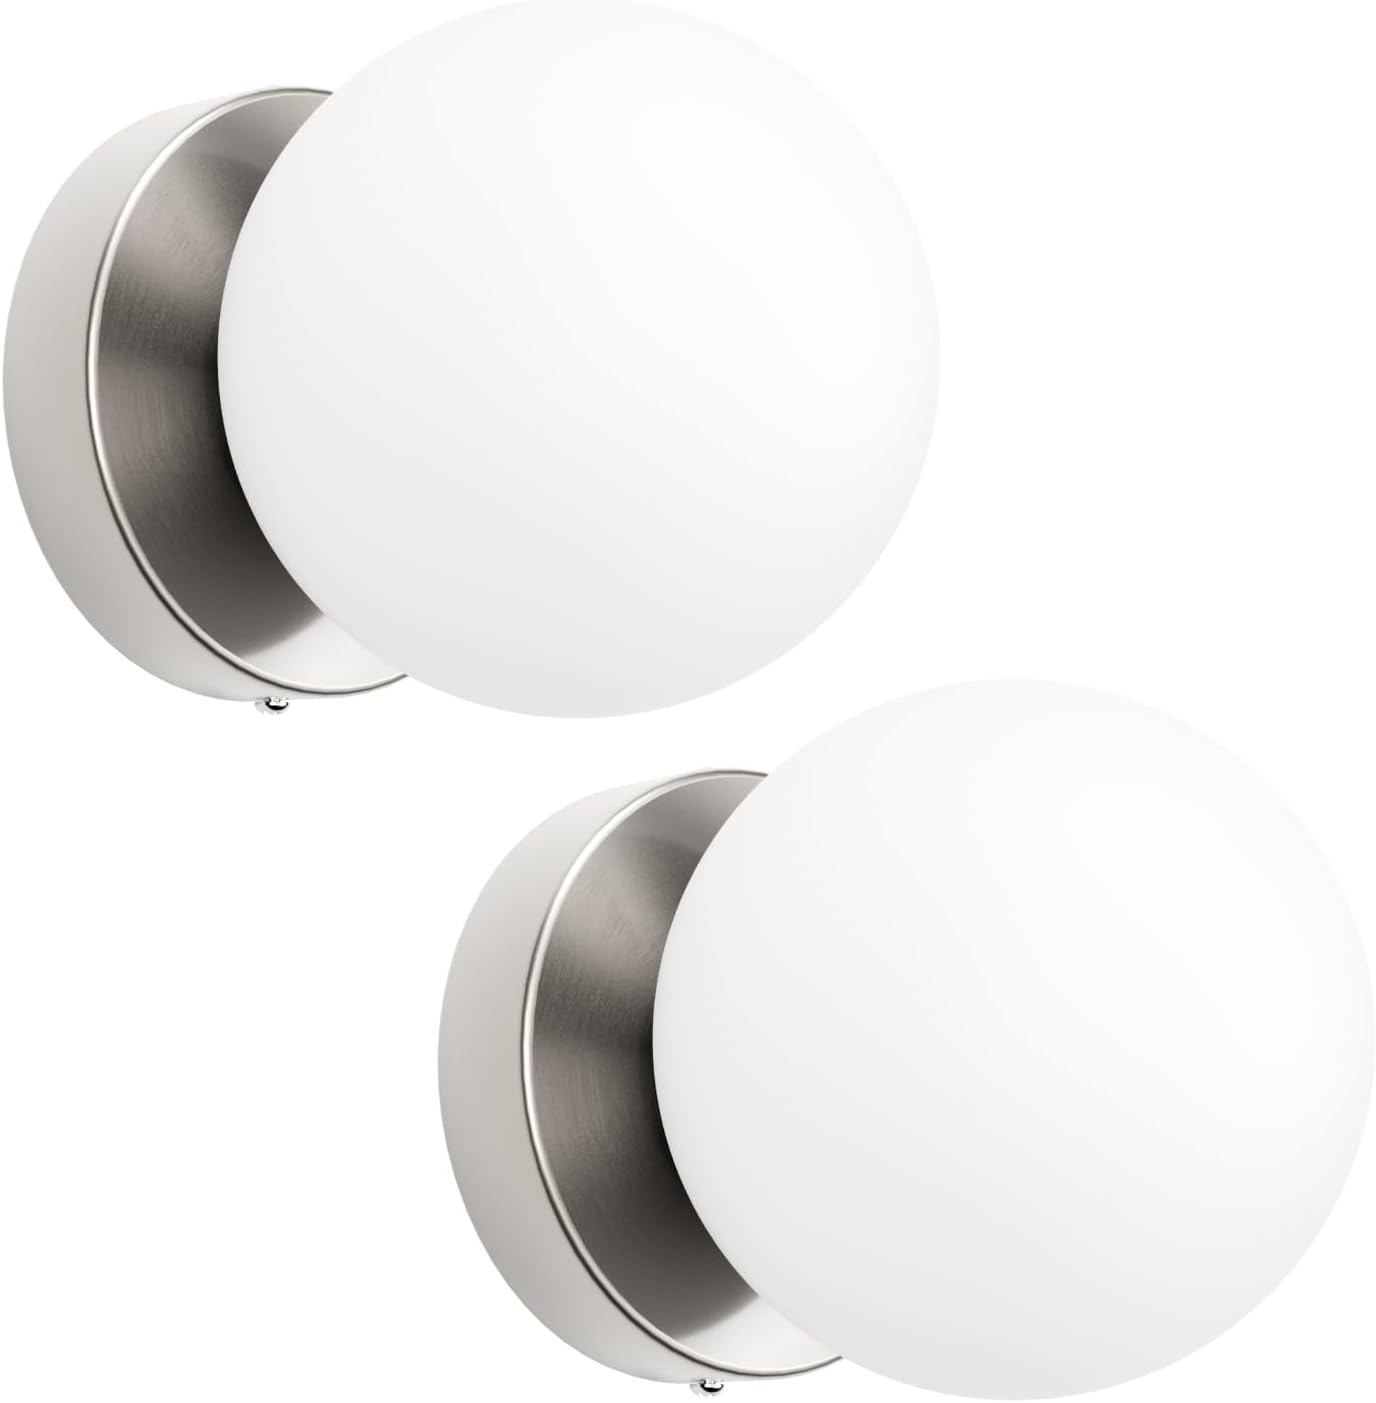
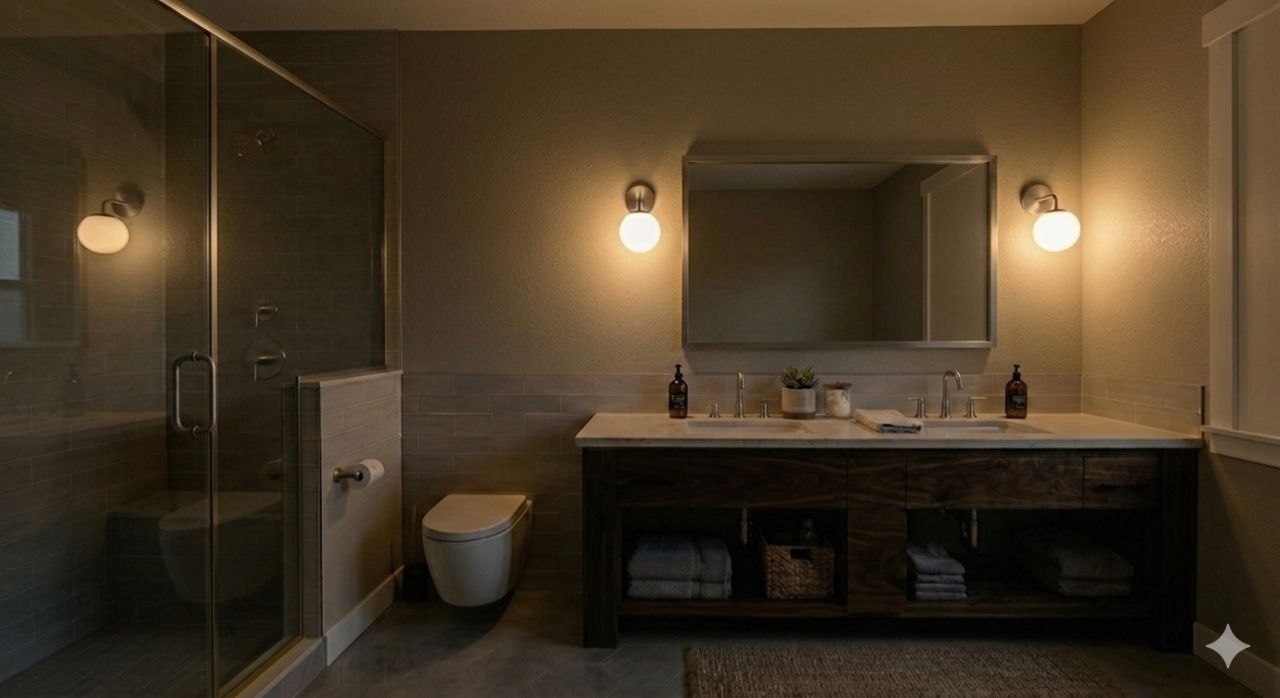
Selected for Bedroom #2 ensuite, one globe sconce on each side of the mirror. Brushed nickel with milk-glass globe shade.
Globe-sconce inspiration reference. IKEA FRIHULT bathroom inspiration photo retained as a useful visual reference for the Bedroom #2 globe-sconce direction, even though the selected product is the Aoceley set.
Shower plans
Master bath
Glass fixed wall + hinged door
Plan for the master shower is a glass fixed wall and hinged glass door, both approximately 80″ tall. Confirm final glass height, swing/clearance, hardware finish, curb/threshold condition, and tile-to-glass measurements in the field.
Downstairs hall bath
Curtain for now
Plan for the downstairs hall bath is to use a shower curtain for now. Keep this simple and reversible unless a later glass enclosure decision is made.
Guest shower
Doorless glass block wall
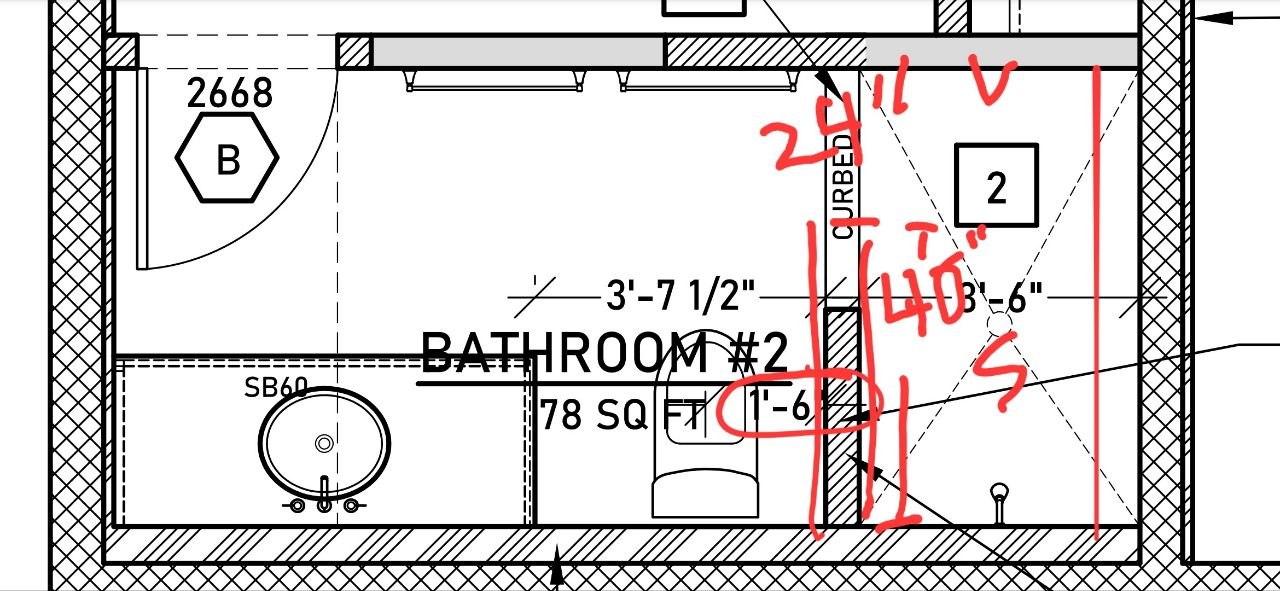
Working direction is a 40″ frosted glass block wall with roughly 24″ clear opening and a ceiling rain head to reduce spray toward the opening.
Doorless shower with glass block wall
Working layout
Shower length: approximately 64″.
Glass block wall: prefer 40″ so it works cleanly with five nominal 8″ glass block modules.
Doorless opening: approximately 24″ clear opening.
Toilet clearance: hold the plan relationship of 18″ from the toilet centerline to the edge of the glass block wall.
Valve: place the volume/control valve on the south wall.
Showerhead: prefer a ceiling rain head so water drops vertically instead of spraying toward the opening. Place the showerhead 18″ from the north wall, centered between the glass block and the front of the 3.5″ shelf at 42″ height on the west wall.
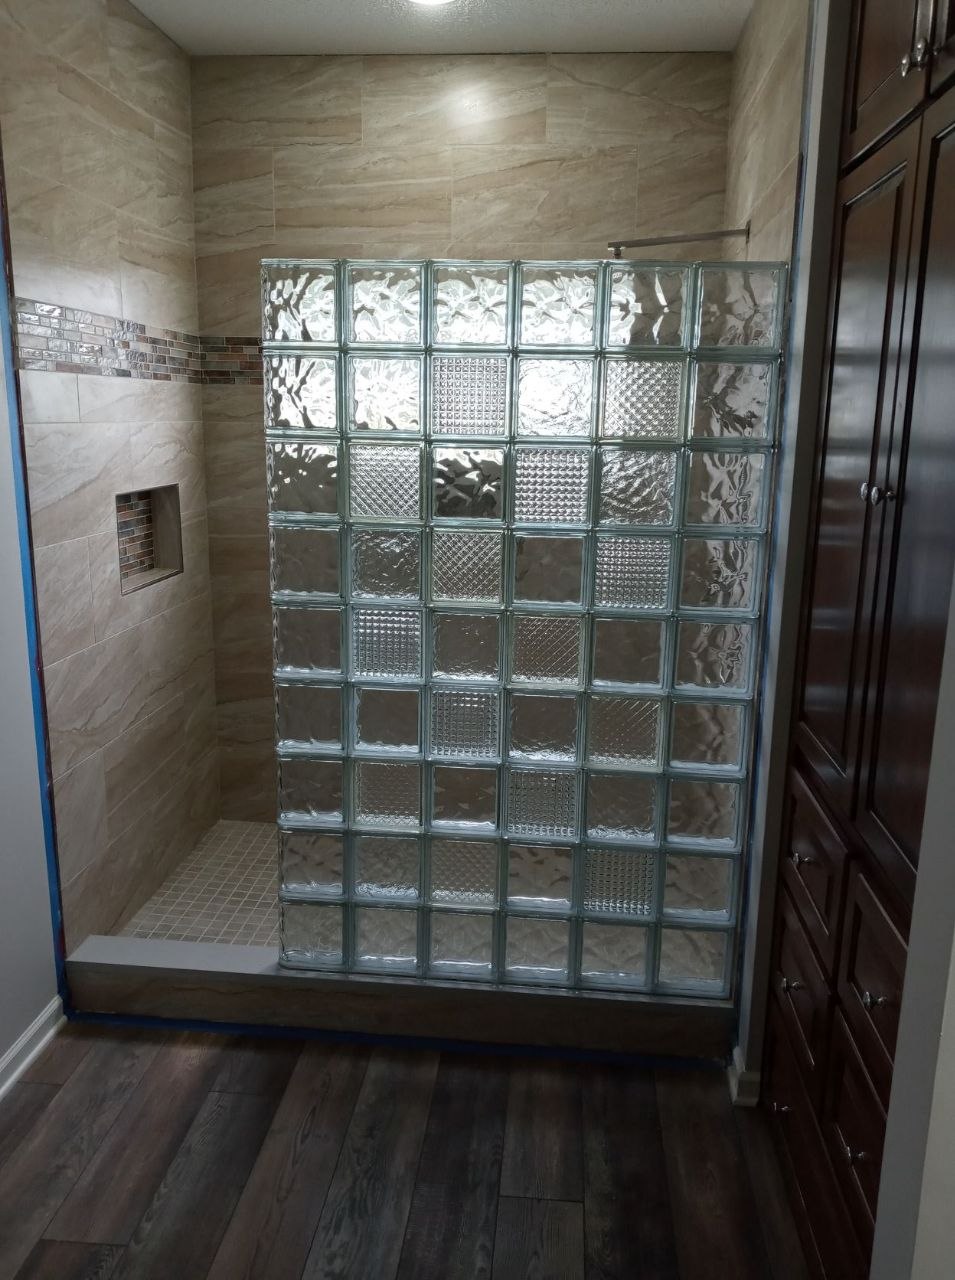
Marked Bathroom #2 plan. Field reference showing the shower dimensions, with “S” marking the showerhead location and “V” marking the volume control valve.Preferred shower-wall reference. Useful for the intended translucent partition, open entry, neutral tile field, and privacy/light effect. Differences from our plan: all frosted block, about 8″ shorter wall, and about 6″ wider opening.
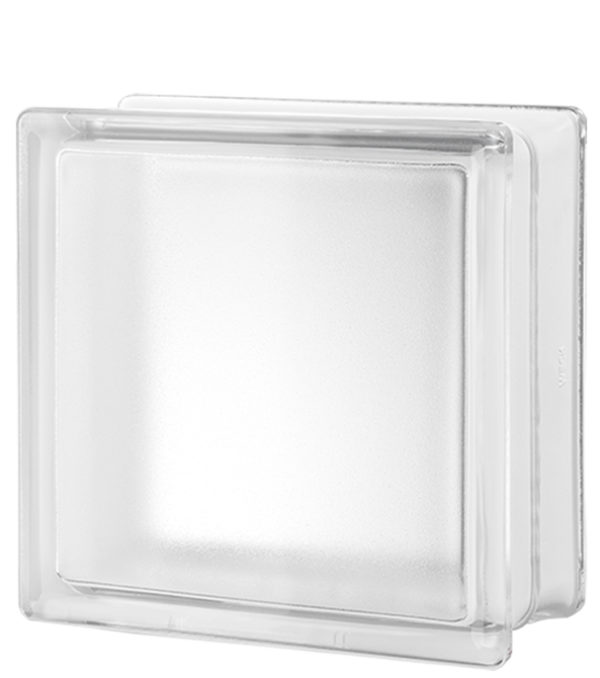
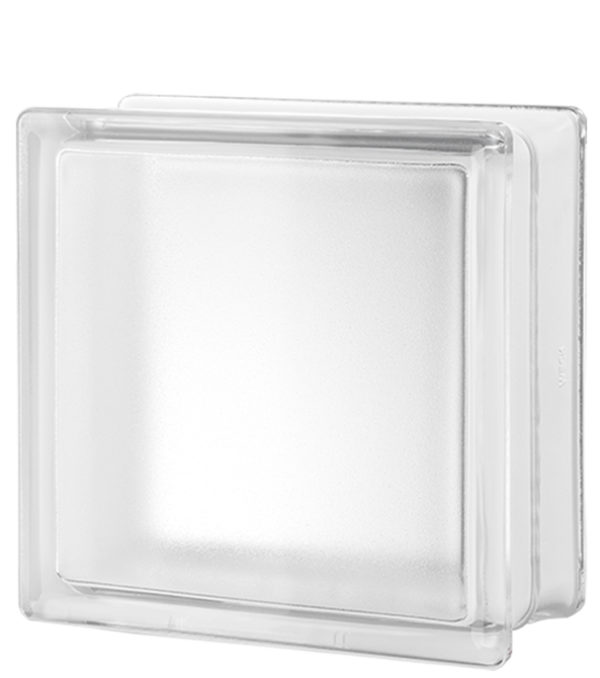
Seves Arctic / Mist pattern glass block. Current working glass block reference: 8″ × 8″ × 4″ nominal, frosted/mist pattern, high privacy.
Glass block support discussion
Coordinate hidden reinforcement for a tall narrow 4″ glass block wall.
Review stainless panel anchors into CMU, ladder wire in horizontal joints, and a concealed stainless rod at the free end if appropriate.
Use a flexible movement/expansion joint where glass block meets CMU, finished cleanly with silicone.
Confirm waterproofing integration at the curb/glass block base before installation.
Tile / material palette
Current read
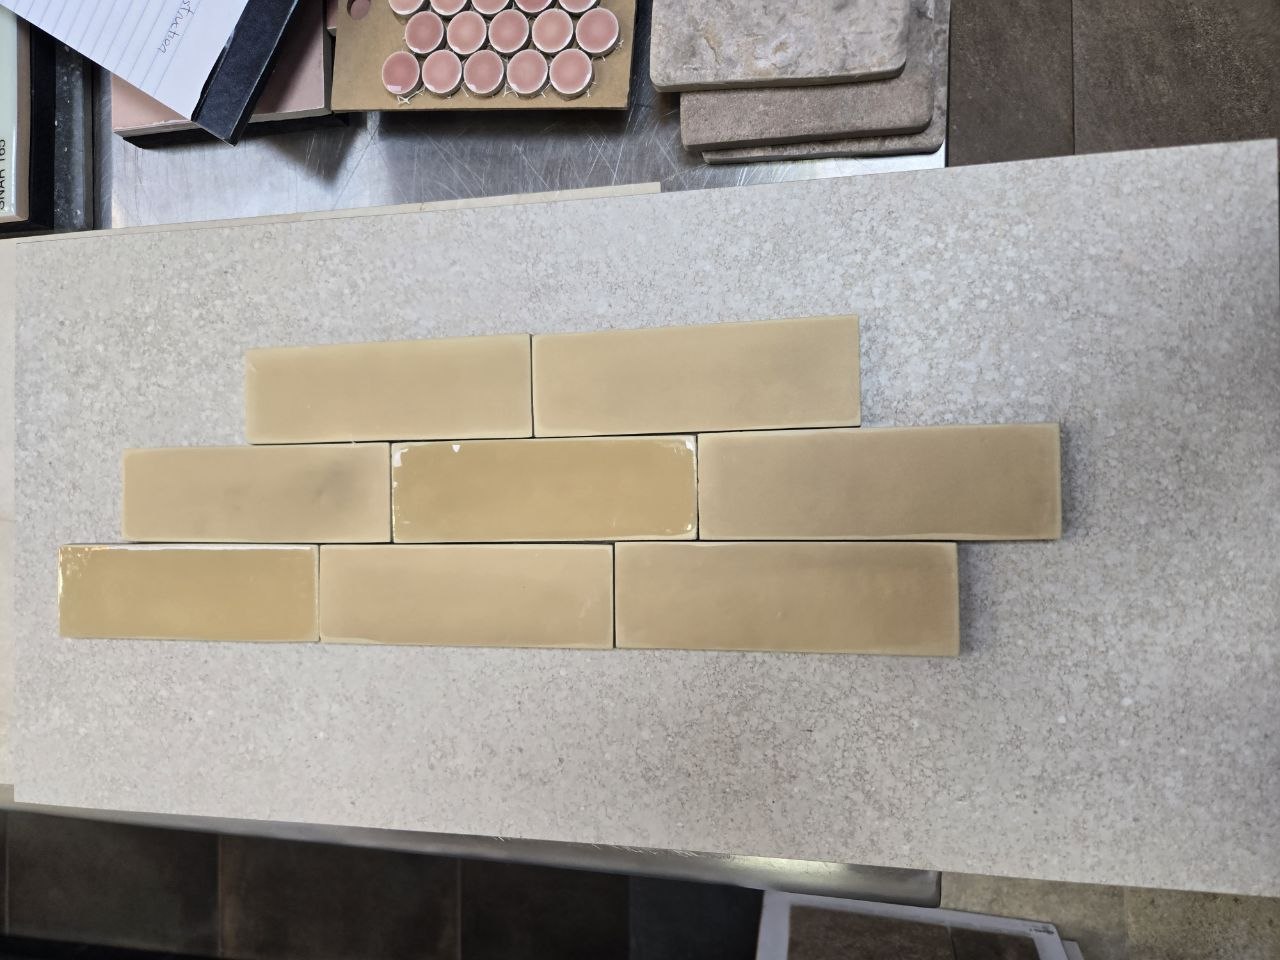
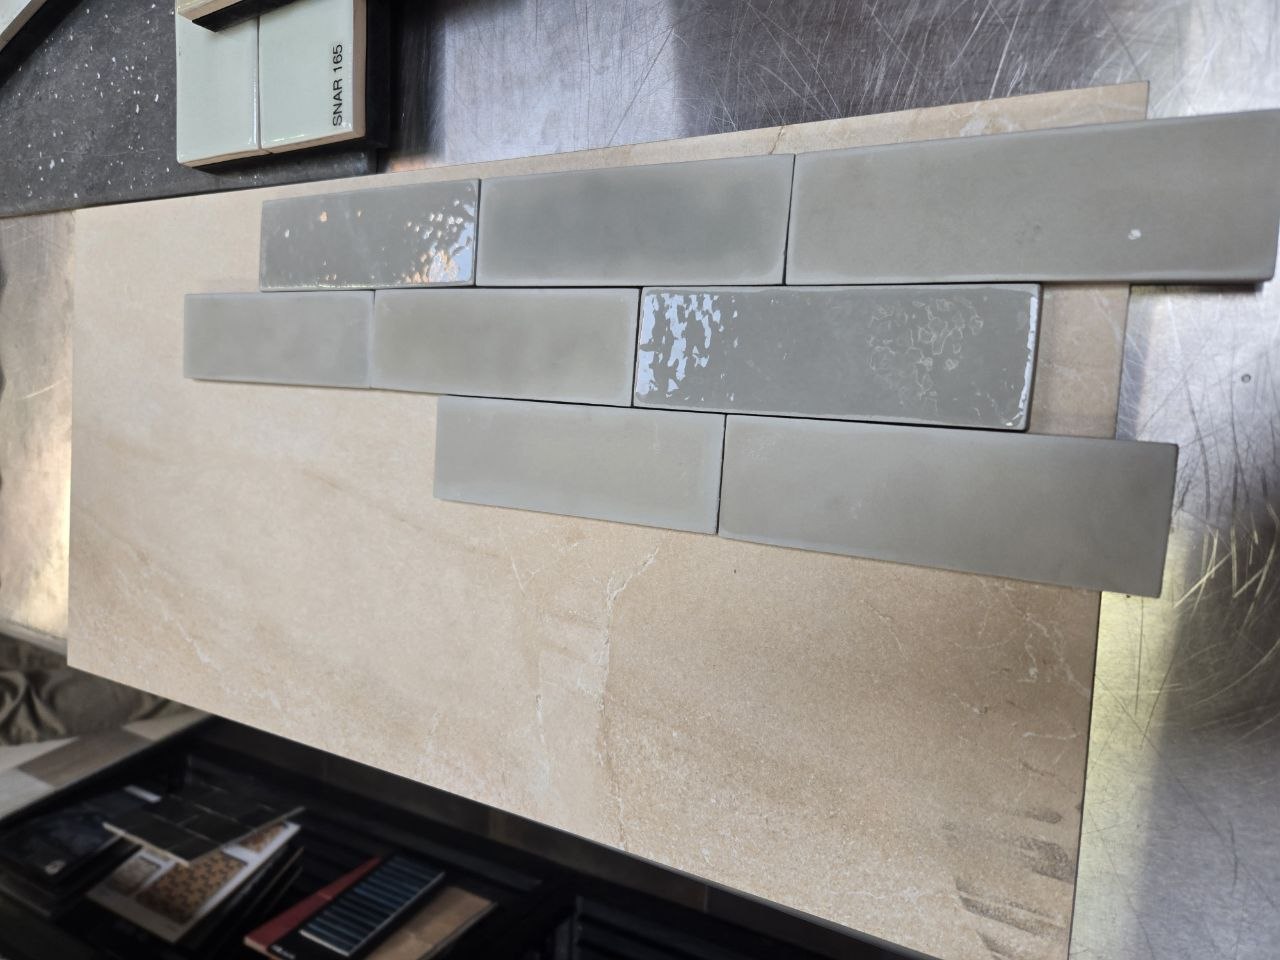
The working tile palette compares warm yellow / brownish-yellow glossy subway-style tile, muted green-gray glossy tile, light speckled White Sand stone surfaces, and the Seves Arctic glass block as a translucent material reference for the shower.
Confirm final tile sizes, trim pieces, edge conditions, and shade variation.
Mock up grout color with the actual tile; the warm tile likely wants a soft warm-neutral grout.
Coordinate final countertop/slab choice with the green-gray accent material before committing.
Warm glossy tile over light slab. Lead warm direction with handmade-looking edges, glaze variation, and soft neutral tone.Green-gray glossy tile. Cooler alternate wall-tile direction; quieter and more restrained.Seves Arctic glass block. Translucent material reference for the doorless shower wall, not a color swatch.
Plumbing documents
Bid and portfolio PDFs
Reference PDFs for finished plumbing coordination.
Confirm the selected Hydro Systems Sydney tub order code, left-hand drain orientation, tile flange/skirt package, waste/overflow compatibility, and lead time before release.
Confirm the master shower glass plan: fixed wall plus hinged door, both approximately 80″ tall; verify swing/clearance, hardware finish, curb/threshold condition, and field tile-to-glass measurements.
For the downstairs hall bath, plan for a shower curtain for now and avoid making irreversible glass-enclosure assumptions unless that decision changes.
Confirm the guest shower field dimensions before committing to the 40″ glass block wall and roughly 24″ opening.
Review the glass block reinforcement, movement joint, curb/waterproofing integration, and rain-head plumbing support before installation.
Mock up tile/grout/slab combinations with the actual samples under bathroom lighting.